
We all know how important it is to have the latest and greatest tech. But do you know how to install and configure a brand new 3080 GPU?
In this guide, you’ll learn exactly what you need to do to get that shiny piece of hardware up and running. Don’t let yourself miss out on the experience of gaming with some of the best graphics around!
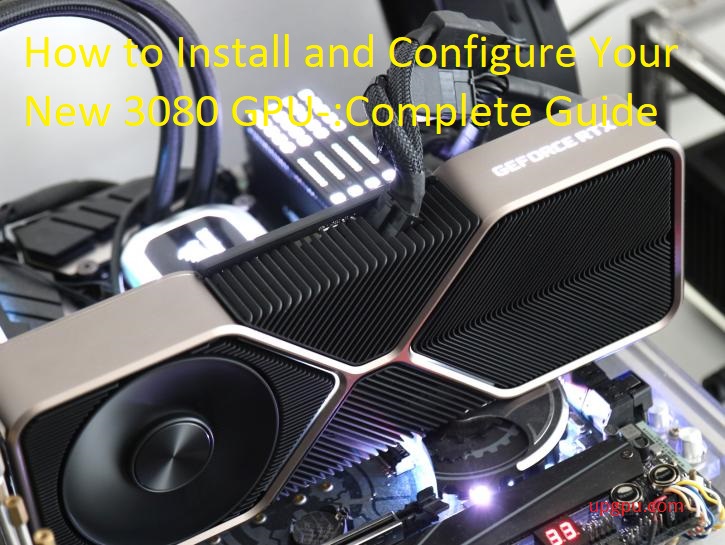
Welcome to the guide on how to install and configure your new 3080 GPU. This guide will walk you through the necessary steps to easily set up and use your new graphics card, as well as provide useful information on components and configuration settings that can optimize your gaming experience.
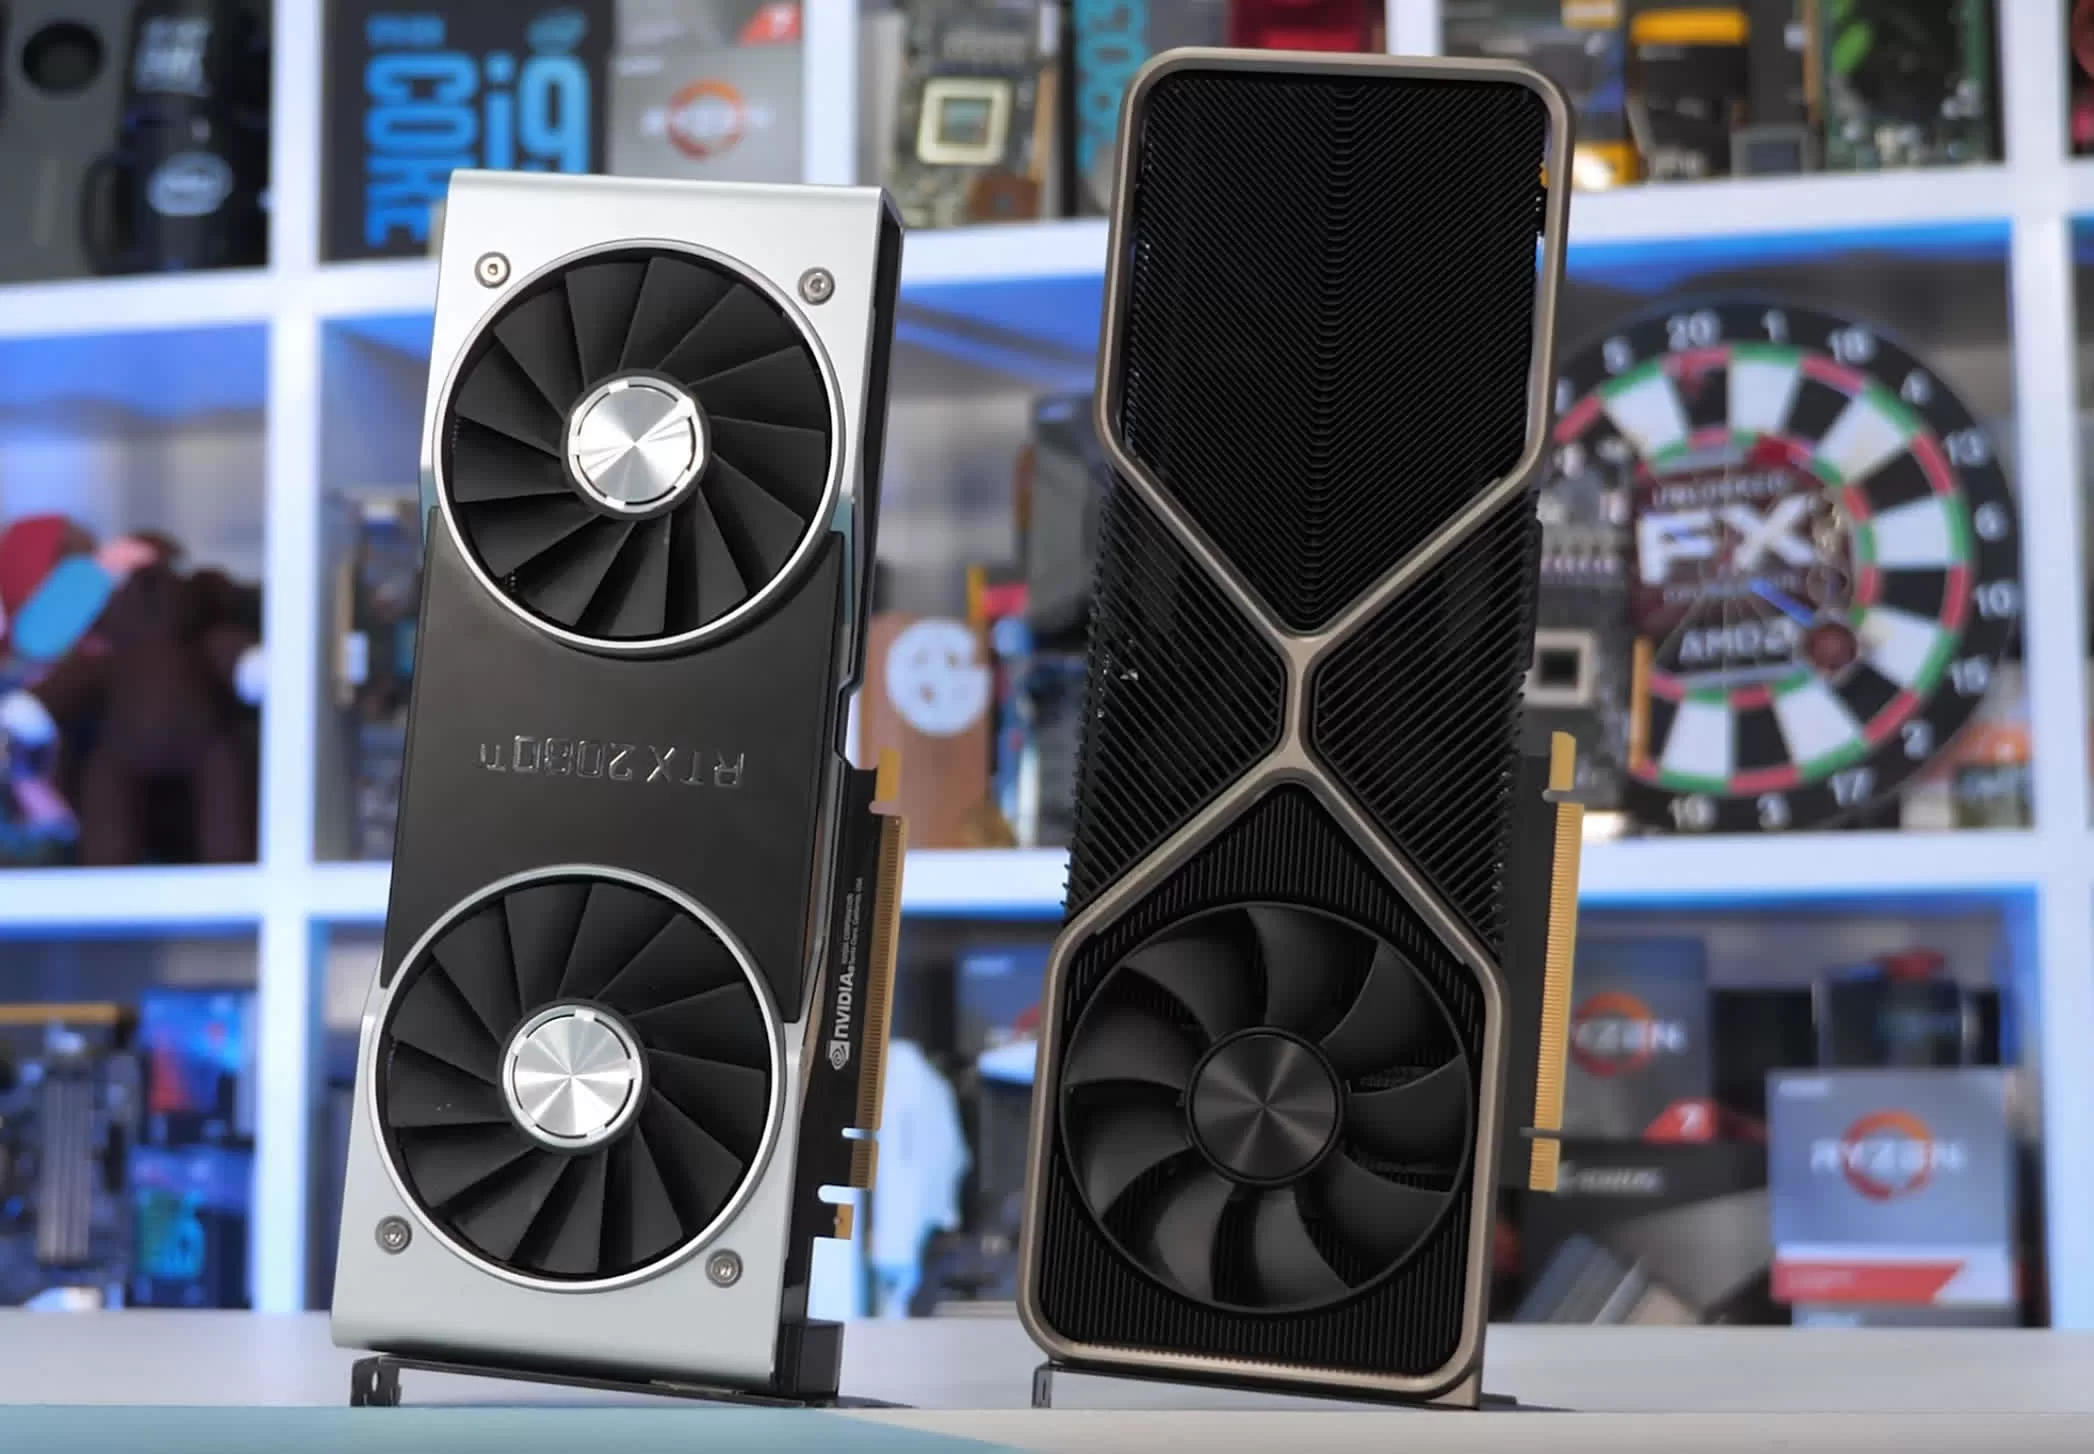
Before we get started, it’s important to first understand a few basic graphics concepts. First, the GPU itself is an essential component of gaming rigs, responsible for processing all of the graphical data outputted by your display. GPUs use powerful processors within them to perform calculations in order to generate images quickly. The 3080 GPU is a high-performance Graphics Processing Unit (GPU) designed by NVIDIA, capable of providing smooth gaming experiences while also delivering excellent visual fidelity in 4K resolution.
It’s also important to consider what type of drive you are using for installation; if you have an older system running on HDD or SSD drives may require drivers that can be found at NVIDIA’s support website. Finally, you will also need a PCI slot available on your motherboard in order to physically install the GPU itself inside your desktop system case.

Explanation of the 3080 GPU
The 3080 GPU is a powerful addition to any computer and can greatly boost your computing performance for gaming, graphics, or other tasks. It’s important to understand how the GPU works and what you will need to do to install it. This section will provide an overview of the 3080 GPU, including its specifications, features, and potential benefits.
The NVIDIA GeForce RTX 3080 is a graphics processing unit (GPU) made by NVIDIA. It is part of their GeForce RTX™ 20 Series family of GPUs and is based on the Turing architecture. This revolutionary technology enables up to 10 times faster rendering performance for gaming and other demanding tasks than what was possible with previous generations of GPUs.
It supports real-time ray tracing that enables more visual accuracy in gaming environments as well as NVIDIA DLSS(Deep Learning Super-Sampling) which delivers improved images with much less computations compared to traditional anti-aliasing techniques like MSAA. Other features supported by this graphics card include NVIDIA G-SYNC Compatible, 12nm FinFET process technology, 11GB GDDR6 Memory Capacity, PCI Express Gen 4 interface support, DirectX 12 Ultimate support and more.
Importance of installing and configuring it correctly
Installing and configuring a new graphics processing unit (GPU) correctly is significant for using it with hardware and software resources optimally. Incorrect installation or configurations can lead to sub-optimal performance, or even a system slowdown. To get the most out of your GPU, and ensure it works optimally in all your workflows, you need to install and configure it correctly.
First, you must select the right drivers for your GPU. Failing to do so could lead to ineffectiveness of programs that require higher GPU performance capabilities, as well as lead to issues such as game lags or freeze-ups. So make sure you have the correct driver version installed before installing your new 3080 GPU. Then, follow the guidelines provided by the manufacturer carefully while installing your GPU.
Once you have installed it correctly, it is important to configure settings accordingly so that they match your display device type, resolution preferences and other requirements like dynamic refresh rates etc.. Poor configuration of these settings could affect gaming performance significantly or cause other graphical glitches that hinder optimal working conditions on Windows OSs. It’s also essential to stay up-to-date regarding software updates for both the Operating System and BIOS settings on the machine where the graphics card is installed. Lastly, you should keep an eye out for any troubleshooting warnings or messages regarding compatibility or operational issues; applying necessary fixes can help effectively prevent future problems with using this new 3080 GPU.
Overview of the installation process
Before you begin the installation process, it is important to have a clear understanding of what it entails. This overview will provide basic information on the installation procedure and will help you create a plan for efficiently implementing your new GPU.
First, you should make sure that your system meets all the minimum requirements for installing 3080 GPUs. To do this, check the system requirements related to powering the device and installing any needed drivers to ensure proper operation.
Second, it is essential to create room in your computer case by properly organizing the internal components before physically mounting and connecting the GPU.
Third, after connecting all necessary power supplies, your GPU should be fully installed by using an appropriate mounting bracket and securing it with screws.
Finally, once your new device is installed and functioning properly, you must configure its settings through software or BIOS in order to maximize performance.
Pre-installation steps
Before you begin installing hardware components, it is important to take some preparatory steps to make sure everything runs as smoothly as possible. The following two steps should be completed prior to installing your new GPU:
- Install the latest chipset and graphics drivers: These will ensure that your system has all the necessary tools installed to properly control and manage the extra hardware components you are introducing.
- Disable or uninstall any existing graphics processing software: Your system may already have some software installed from previous running devices or experiments, so it’s important that this does not interfere with the new GPU’s configuration process. To do this you will need to deactivate any such programs before attempting to install the 3080 model.
Check hardware compatibility
- Check hardware compatibility: Before installing a new 3080 GPU, you should ensure that your motherboard and computer have the necessary ports and connections to support the card. You’ll need to check if your motherboard has an appropriate PCIe slot (x16 or x8) for the card, as well as a free 6- or 8-pin power connector (depending on how much power draw your card needs).
Additionally, you should check the total power output of your power supply unit to ensure it can handle your additional graphics card. If it can’t support the new GPU, you may need to upgrade your PSU before proceeding with installation.
Uninstall old GPU drivers
Before you bring your new 3080 GPU online, it is important to uninstall any drivers or software applications associated with a previous GPU. To do this, it’s best to use the designated software for your operating system, such as Windows Device Manager or Mac system application.
This process will free up the memory and remove any graphics acceleration-specific configurations stored on your computer. Be sure to remove your old graphics card from the configuration if you plan to reuse it in another build.
After you uninstall all of the drivers and applications associated with your previous GPU, restart your PC to complete the process.
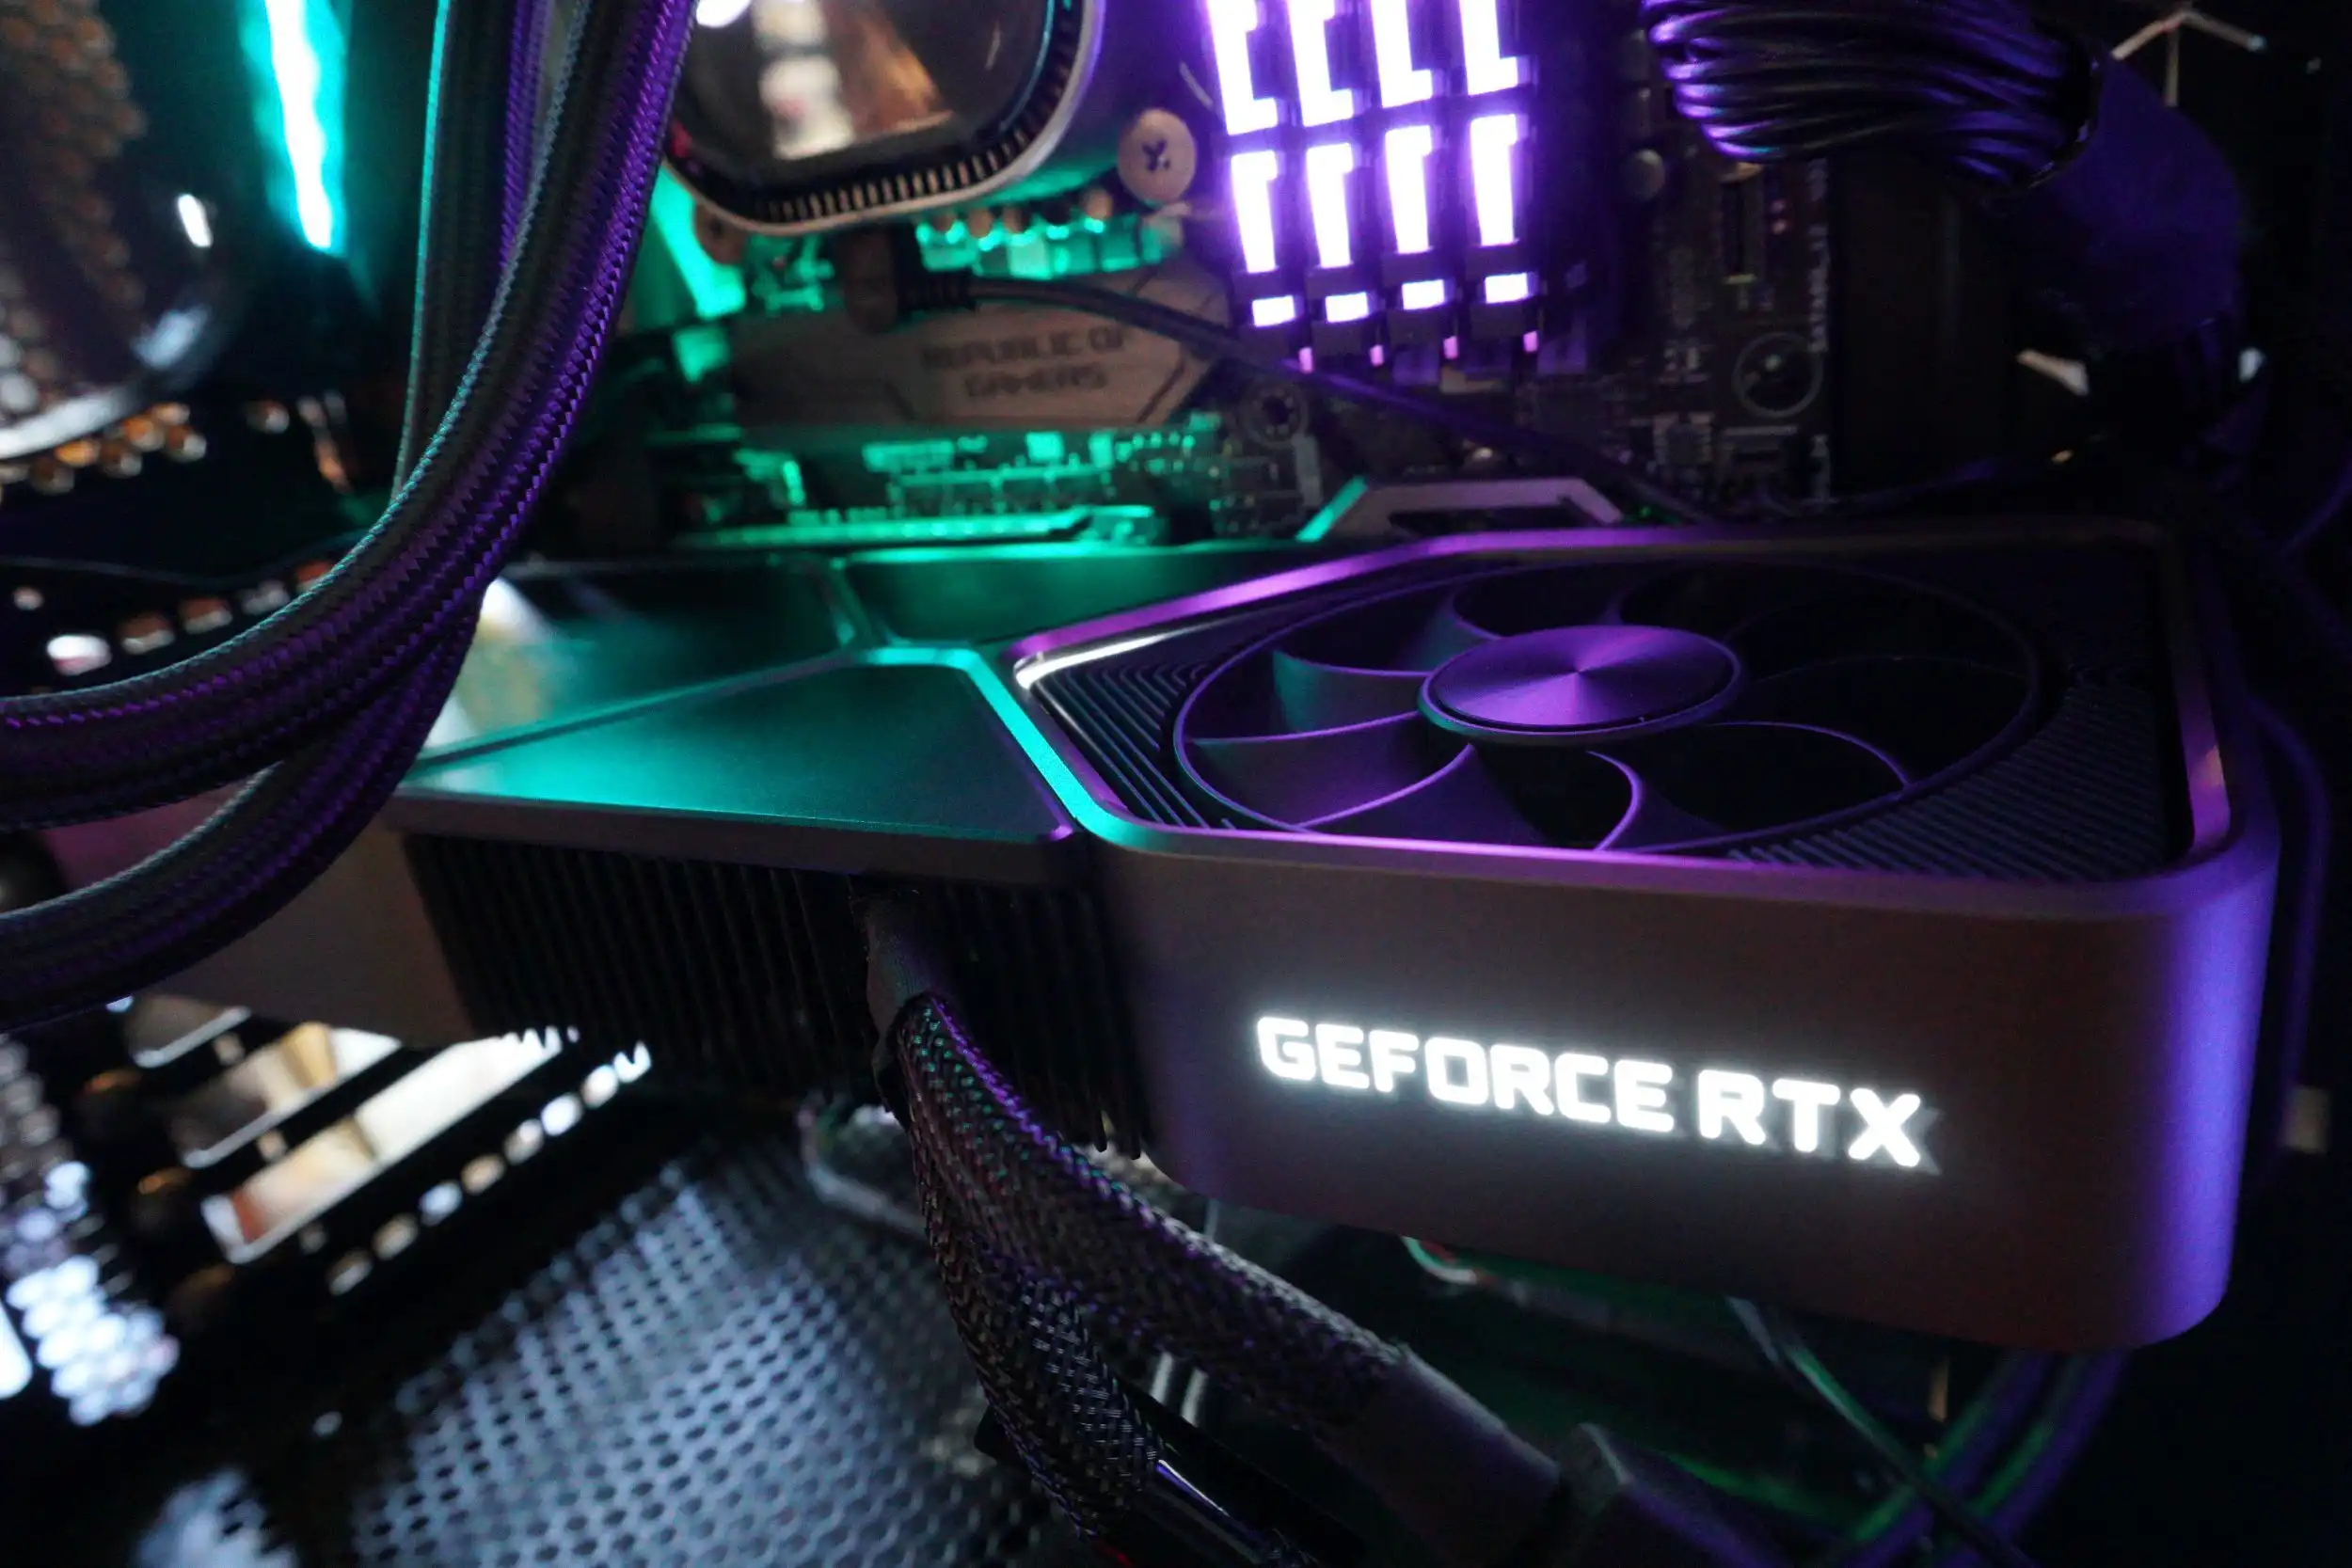
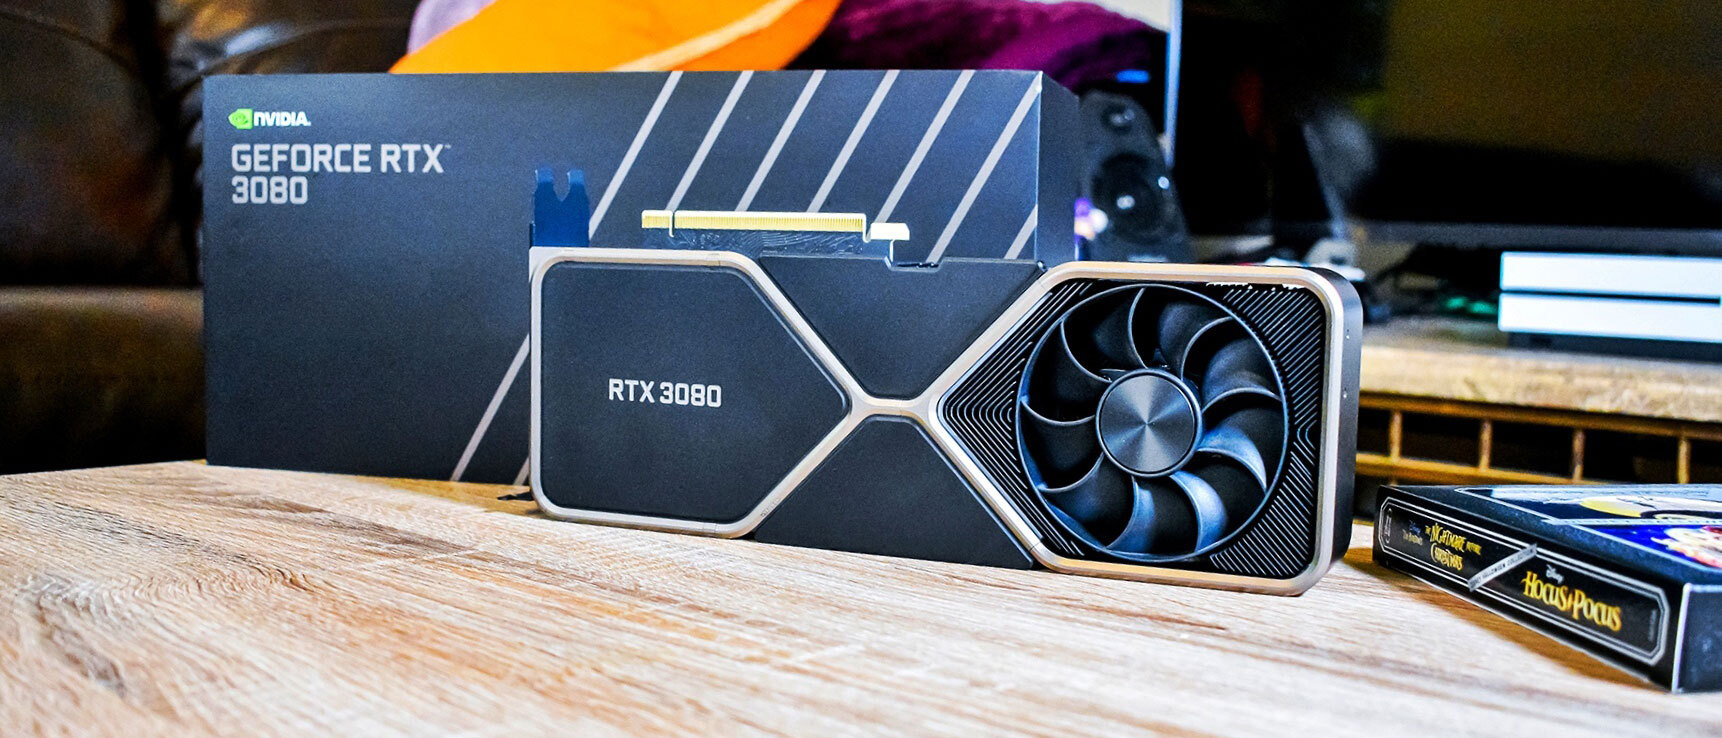
Physical installation of the 3080 GPU
After careful selection and purchase of an Nvidia Geforce 3080 GPU, the next step is to install it keenly in your computer to set up for use. Here are the steps that you need to perform for physical installation of this GPU:
- Power down your computer and disconnect all its cables from the power source (including any HDMI/DVI cables).
- Make sure you have an available PCI-E graphics card slot in your computer and have it free.
- Unscrew the PCIe graphics card slot backplate and remove it if you haven’t already done so when buying the PSU.
- Insert the new 3080 GPU firmly in the PCI-E graphics card slot with its components facing downward. Your board may already contain an existing graphics card, but if not, make sure you put a port cover on first before installing this new one to prevent dust from getting into your system and shorting out components or accidents as well as ensure better forward/backward compatibility for other hardware components such as CPU’s later on.
- Screw back in with screws provided using either a Phillips or flat head screwdriver – whichever best fit with your motherboard’s design aesthetics and mounting sizes – to securely affix it into place inside the computer chassis without any issues such as slots not properly aligned or screws too long (which can potentially cause other obstructions).
- Reconnect all cables/wires along with power source cords again into their respective ports before powering up once more.
- Lastly, install Nvidia GeForce drivers before booting up completely.
Open the computer case
- Open the Computer Case
Before installing your graphics card, you must first open the computer case to identify the compatible PCIe slot for installation. Typically, newer cards are installed in PCIe x16 slots that are closest to the processor. Before opening the case, always make sure to disconnect the power cable from both your wall outlet and computer case to prevent any shocks or accidents. Once inside, locate an open PCIe slot and remove any components that may be obstructing it. If a PCIe expansion cover is necessary to fit your GPU, ensure that you have one available prior to installation.
Locate the PCIe slot
The first step to install your new 3080 GPU is to locate the PCIe slot (PCI Express) on your motherboard. This is usually located alongside the other PCIe slots, although some motherboards may have it organized differently.
Ensure that the graphics card is firmly seated in the port and that nothing is obstructing it from being inserted correctly. Connect any necessary cables from the graphics card to any relevant hard drives or other components such as case-mounted fans, if applicable.
You may also need to plug in power from a PSU (power supply unit) if required for your model GPU.
Software installation and configuration
- Software installation and configuration
Installing and configuring the necessary software is often the most crucial step in getting your new GPU running. It’s important to take your time and carefully walk through each of these steps to make sure you’re properly setting up your hardware for optimal performance.
Software includes both drivers which allow your hardware to communicate with the Operating System and applications like NVIDIA Control Panel or other GPU-specific programs which let you customize settings and design gaming experiences that take advantage of all the features offered by your graphics card.
To begin, you should check with the manufacturer’s website or any included software CD-ROMs/USB drives provided in the packaging before moving forward. Drivers are usually named according to their version, so make sure you’ve downloaded the right ones for your specific GPU model. Sometimes more recent driver versions may not be compatible with older Operating Systems, so it is best practice to double check compatibility before proceeding.
Once all the necessary files have been installed, take a moment to launch any additional software that comes packaged along with the new Graphics Card – this typically includes an Upscaling program or built-in overclocking functionality (VXGI or other such programs). You can customize these settings according to your needs as well, just be careful not to overclock too much as it can cause damage over long term use! Finally, once everything is configured properly it’s time for some gaming! Enjoy!
Download the latest drivers
- Download the latest drivers
The first step before you start setting up your new GPU is to download the latest drivers from your manufacturer’s website. There are three primary methods for downloading: through a web browser, using NVIDIA Experience or GeForce Experience software, or manually downloading directly from NVIDIA’s website. The web browser option will work with most browsers, though Google Chrome is recommended for the best performance. You can also use NVIDIA Experience or GeForce Experience software, which allow you to automatically download and install the most recent drivers for your hardware. Lastly, you can manually download the driver file from NVIDIA’s website according to your product’s specifications.
Once you’ve downloaded and extracted the driver file, save it in a convenient location (such as Documents) ready for installation in Step B below.
Install the drivers
Once you have ensured that your GPU is properly inserted into the PCI-E slot, it’s time to install the relevant drivers necessary for proper operation. First, make sure you have downloaded the latest drivers from either the manufacturer’s website or through Windows Update utility.
It’s best to shut down your system before you begin installing any type of hardware content, including a GPU. Thus, shut down and unplug all your peripherals from the wall socket before continuing.
Next, open your computer case if required and place your GPU in an appropriate PCIe slot making sure that it fits snugly with no protruding edges such as wires or cables limiting its fitment. Make sure to turn off any power switches located on the backplate of your case too. If you are dual GPU-ing two different GPUs together then make sure to plug in an appropriate auxiliary power cable directly into one of them as this is required for high performance calculations and rendering processes more commonly associated with modern gaming and other 3D graphics tasks.
Once fully inserted, secure all screws in their respective spots and mount the fan if necessary according to its design instructions on the actual product site manual or package inserts before plugging back in all peripherals to their original spots i.e mouse keyboard etc.. Then proceed with restarting it while leaving all peripheral devices connected as they were initially after shutdown preparedness (if any) was taken care of prior to starting up again which should initiate normal device driver loading screens whereupon lay out instructions will be found with further details as prompting by users -such as yourself- on what further steps lie ahead many other topics may appear but acceptance/choosing a language should suffice until settings configurations are in view wherein graphics card settings options clearly expressed themselves for easy selecting & implementing henceforth completing this setting up phase overall in virtually no time!
Conclusion
Congratulations, you have now successfully installed and configured your 3080 GPU! Now that you are completely up to date, we can move on to the fun part of gaming and graphics experience enhancement.
To get the most out of your new graphics card, be sure to consult with other users in forums and online discussions about which peripherals and setups will best benefit you for your specific scenarios. Additionally, take time to learn about other features such as overclocking, monitoring tools, 3D technologies and more.
By familiarizing yourself with the components of your machine and performance optimization tips, you can make sure that you are getting the most from your 3080 GPU.
FAQs
How do I optimize my GPU 3080?
There are several ways to optimize your GPU 3080. Here are a few tips:
- Make sure your graphics card drivers are up to date. You can download the latest drivers from Nvidia’s website.
- Adjust the graphics settings in your game to find the best balance between performance and visuals.
- Use software like MSI Afterburner or EVGA Precision X1 to overclock your GPU and increase its performance.
- Ensure that your computer is properly ventilated and that your GPU is not overheating.
- Disable unnecessary background processes and applications to free up system resources.
How do I optimize my RTX 3080 for gaming?
To optimize your RTX 3080 for gaming, you can follow these steps:
- Make sure your graphics card drivers are up to date.
- Adjust the in-game graphics settings to find the right balance between performance and visual quality.
- Use software like MSI Afterburner or EVGA Precision X1 to overclock your GPU and get even better performance.
- Consider upgrading other components in your system, such as your CPU or RAM, to avoid bottlenecks that could limit your gaming performance.
- Ensure that your system is properly cooled to prevent overheating.
How to activate RTX 3080?
To activate your RTX 3080, you will need to install it in your computer and ensure that it is properly connected to your power supply and motherboard. Once you have done this, you can download and install the latest drivers from Nvidia’s website. After installing the drivers, your RTX 3080 should be ready to use.
What to do before installing new GPU?
Before installing a new GPU, you should:
- Uninstall the drivers for your old graphics card.
- Shut down your computer and unplug it from the power source.
- Open your computer case and remove your old graphics card.
- Clean any dust or debris from your computer case.
- Install your new graphics card, making sure it is properly seated and connected to your power supply and motherboard.
- Close your computer case and reconnect all cables.
- Turn on your computer and install the latest drivers for your new graphics card.
How much should I overclock my RTX 3080?
The amount that you should overclock your RTX 3080 depends on several factors, including the specific model of your card, the quality of your cooling system, and your personal preferences. Generally, it is recommended to start with a modest overclock of around 5-10%, and then gradually increase the overclock until you find the best balance between performance and stability.
What is the recommended minimum CPU for 3080?
The recommended minimum CPU for an RTX 3080 is an Intel Core i7 or AMD Ryzen 7 processor. However, a more powerful CPU, such as an Intel Core i9 or AMD Ryzen 9, will provide even better performance.
What is the max fps for RTX 3080?
The maximum fps that an RTX 3080 can achieve depends on several factors, including the specific game being played, the graphics settings used, and the other components in the system. In general, the RTX 3080 is capable of delivering very high frame rates, often exceeding 100 fps or more in many games.
What should a 3080 run at?
A properly functioning RTX 3080 should run at a stable temperature and clock speed under load. The specific temperature and clock speed will depend on the specific model of the card and the cooling solution used, but generally, a temperature of around 70-80°C and a clock speed of around 1900-200
See More
- Best gpu for ryzen 9 3950x 2023
- Best 1080p 144Hz GPU 2023
- Best GPU for Ryzen 9 5900x 2023
- Best 3080 GPU 2023
- Best GPU for Video Editing 2023