
Struggling to get the best out of your 3090 GPU? Don’t worry, you’re not alone!
You need to ensure its proper installation and optimization for optimal performance. In this guide, we’ll show you step-by-step how to make sure your new 3090 is up and running perfectly. So don’t stress, let’s get it done together!
Installing and optimizing your new 3090 GPU can be a daunting task, but with the right guidance, it can be an easy and rewarding experience. This guide will provide you with all the information you need to install and properly configure your new graphics card for maximum performance benefits. We will cover all the necessary steps, from unboxing to upgrading driver settings and beyond.
We’ll start by looking at what you need to set up your 3090 GPU correctly and the installation process itself. We’ll then move on to driver optimization before finally discussing how you can use your new graphics card to its fullest potential. By the end of this guide, you’ll have everything you need to make sure that your new graphics card is working it’s best. So let’s get started!

Explanation of the 3090 GPU
The NVIDIA GeForce RTX 3090 GPU is the latest flagship from NVIDIA and has been designed to provide maximum gaming performance. This card features 24GB of GDDR6X VRAM and the revolutionary new Ampere architecture. The combination of these features make this one of the most powerful GPUs ever created, offering unprecedented levels of speed, power, and precision for gaming.
The GeForce RTX 3090 is powered by the NVIDIA Ampere streaming multiprocessor (SM) architectures which is aimed at delivering immense levels of computing power to an array of different applications. The 3090 utilizes 2nd generation RT cores and 3rd generation Tensor cores, both of which greatly enhance ray tracing capabilities with up to a 40x performance upgrade over the prior generations. Additionally, there is AI-accelerated deep learning technology baked into this new design which allows professionals to perform complex tasks faster than ever before.
An impressive boost in memory bandwidth ensures that even intense workloads run without any latency or lag. Combining all these great improvements results in a GPU that can handle nearly any task you throw at it with ease as well as deliver incredible visual fidelity that takes gaming experience to new heights.
Benefits of installing and optimizing a new 3090 GPU
By installing and properly optimizing a 3090 GPU, you will experience improved PC performance and unleash the full potential of your gaming rig. The latest 3090 GPU is designed to increase frame rates, reduce stuttering, and offer better refresh rates with higher resolution gaming experiences. This powerful graphics card will maximize the performance of your processor leading to improved gaming performance when playing the latest games on a 4K monitor or HDTV.
Additionally, it is powered by Ampere architecture which helps in enhancing ray tracing capabilities allowing you to enjoy true-to-life graphics in real time with its real-time ray tracing technology.
Other benefits include an optimized software driver which promises smoother game play even when running at maximum settings. Installing and optimizing this powerful GPU ensures that you will get the most out of your hardware for superior gaming experiences with top notch visuals as well as enhanced virtual reality (VR) experiences. It also brings support for HDMI 2.1 ultra-high speed transmission so that you can experience lag free streaming with no latency issue especially if you are using the 8K display or premium 4K TVs which supports maximum frame rate input sources such as 120 Hertz (Hz).
With great power comes great energy efficiency 4has enabled your system to reduce consumption and improve thermal performances by consuming only what is needed during intense gaming sessions allowing for little or no overheating or heating issues. This upgrade also increases flexibility allowing for a compatible VR ready headset accessory ideal for unrivaled 3D audio field optimization enabling heightened immersion levels when playing graphically intense games in virtual reality (VR).
Pre-Installation Preparations
Before you install the GPU, there are certain steps to take to prepare your PC for a successful installation. Here are some essential pre-installation steps:
- Verify system requirements: Make sure that your current hardware meets the minimum requirements of your new GPU. If any of your components do not meet the recommended specifications, it may be necessary to upgrade or replace components in order to ensure a successful installation and optimal performance.
- Update or install required drivers: Make sure that you have the most recent driver versions installed on all components. You should also make sure that any third-party software or driver packages are up to date as well.
- Fully uninstall old drivers and other related software: Before installing the new GPU, make sure you completely uninstall any old drivers and software related to the previous graphics card from your system as this can cause conflicts with existing applications. It is also important to make sure that all overclocking utilities have been disabled prior to installation as this can affect performance of your new GPU negatively if left enabled during installation process.
- Prepare for potential Windows updates: It is possible Windows may require additional updates after installing a new GPU device driver, so it is highly recommended that you check for any available updates prior to installation and apply them if needed. Additionally, it’s best practice to disable auto-update settings for Windows so that no unexpected downloads or changes occur during the installation process of your new GPU device driver which could potentially cause issues with compatibility or performance optimization when running games, applications or other features utilizing intensive graphics processing power provided by newer GPUs like 3090 series GPUs from Nvidia & AMD Radeon models on up to higher end artist intensive tasks such as rendering complex 3D models &/or data visualization workflows when needed depending on their use case scenarios.
By taking these important pre-installation steps, you can help ensure that your RGB lighting synchronization works properly, drivers update successfully and future compatibility issues do not occur once installing a v3090 series card via PCIe interface slot into compatible computing systems housing modern Intel Core X Processor sizes buying selling configurations in market levels today.
Happy Computing!
Checking compatibility with your system
Before you begin the installation process you must make sure that your system is compatible with the GPU. You will need to look up the spec requirements of your particular model to verify that it meets the minimum requirements of your system. It also helps to check for available BIOS updates and updated drivers for both the processor and chipset-specific components as well as for any other components such as RAM, storage, and cooling. Additionally, remember to double-check voltages on power supplies running PCIe cards — having an insufficiently powerful supply can cause serious damage to the card or components in your system.
Once all of the information is verified and all necessary updates installed, you’re ready to begin with the installation process.
Gathering necessary tools and equipment
For enthusiasts and gamers interested in tweaking the potential performance of their new 3090 GPU upgrading, the most important tools are temperature monitoring software, a reliable benchmarking program, video driver update tools and stress testing applications such as FurMark. All of these applications are free and are essential when attempting to optimize the 3090 to its maximum potential.
Temperature monitoring software is needed because the 3090 GPU is immensely powerful and therefore, they generate quite a bit of heat during normal operations. It’s important to track these temperatures closely both in idle states and when running high performance games or benchmarks. This can be done using an application such as MSI Afterburner or Precision X1 for Windows systems. For MacOS users, look for programs that monitor fan speed, CPU/GPU temperature and overclock settings like iStat Menus 6 or HWMonitor Pro 2.
Benchmarking programs are needed since it’s impossible to determine a card’s true performance without running synthetic tests such as 3DMark. Synthetic benchmarking tests measure the performance under specific conditions designed to test both peak power output and stability at various clock speeds. Popular benchmarking programs include 3DMark Fire Strike Ultra, Night Raid and Time Spy Extreme on Windows systems; Geekbench 4 Pro on macOS systems; Unigine Superposition on Linux; plus AIDA64 GPGPU Benchmark Suite across all platforms.
Finally video driver updates help keep your system running smoothly in more demanding situations by delivering maximum compatibility between your GPU’s functions and your computer’s components while keeping everything up-to-date with the latest bug fixes and software enhancements released by NVIDIA. Downloadable directly from NVIDIA’s Support site – https://www.nvidia.com/Download/index.html?lang=en-us – driver updates should be downloaded frequently to ensure peak system performance at all times including other stress tests apps which will ensure optimal stability when used together with a reliable temperature monitoring program.
Removing previous graphics card drivers
Before installing the newly purchased 3090 GPU, users must first remove any older graphics card drivers. Doing so will help ensure that the system is properly optimized for the new hardware. It will also free up resources that may be being occupied by the old drivers, improving overall system performance.
The process for uninstalling existing graphics card drivers differs depending on your operating system. On Windows PCs, you can remove old driver software either through Device Manager or through a dedicated third-party tool such as Display Driver Uninstaller (DDU). For Macs, users should use either their manufacturer’s Graphics Drivers Uninstaller or the Apple Graphics Drivers Uninstaller utility provided by Apple.
Once all the older driver software has been removed from your system, you are now ready to install and optimize your new 3090 GPU!
Installing the 3090 GPU
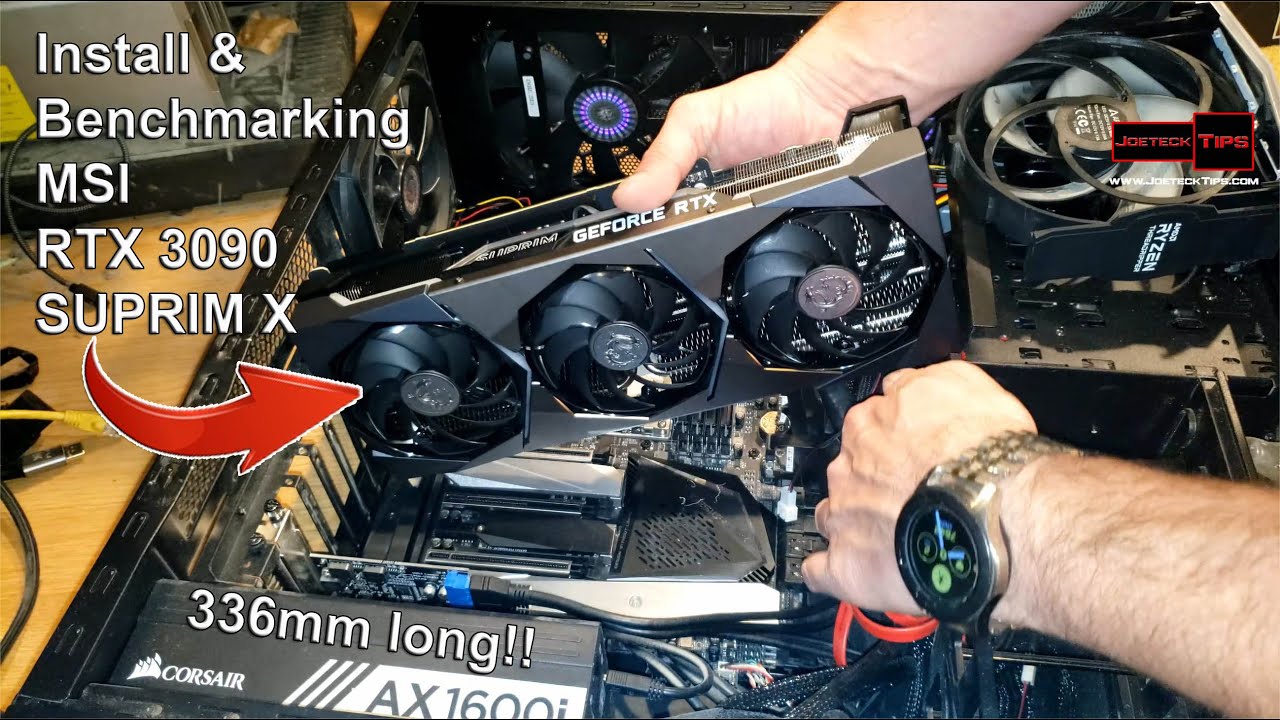
Installing the new 3090 graphics card is actually quite simple. After powering down your PC, follow the steps below:
- Position the 3090 GPU in an open PCIe slot, ensuring it has enough space to fit in securely.
- Secure the GPU to your PC case with screws (if necessary).
- Connect a 6-pin or 8-pin power connector from your power supply directly to the appropriate port on the 3090 GPU.
- Connect any additional cables that may be required, such as a SLI or Crossfire bridge connector (for multi-GPU setups).
- Carefully guide and connect any extra cords such as HDMI or DisplayPort cables to a compatible monitor or other video output device. Be sure all connections are secure before moving forward with installation of drivers and additional software components required for operation of the 3090 GPU setup!
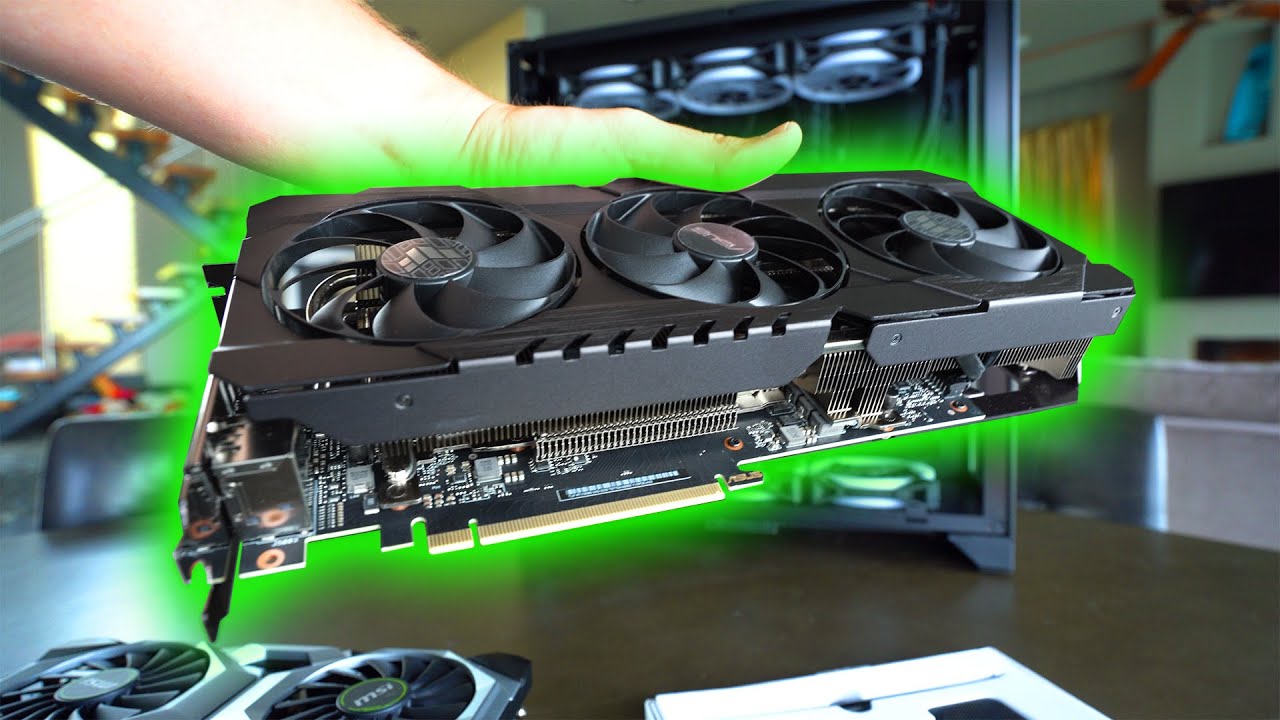
Physically installing the GPU
Installing the new GPU is simple and straightforward, but it is often one of the most time consuming steps. Depending on your PC’s internal configuration, you may need to do some additional work before you can move on. Before starting, be sure that you have the right tools and equipment (i.e., screw driver, PSU cables, etc.) to complete the process properly.
The procedure for installing a new GPU typically involve removing your computer’s side panel or accessing your system’s respective expansion slot covers found within the bottom/top panel behind each of its expansion slots. Once you have accessed one of these components, you then need to remove any existing packaging from around your new card and locate or create a secure connection between it and your PC’s preset motherboard mounting hardware by screwing into place with provided screws from manufacturer hardware kit (if applicable). After doing this, simply connect all PCIe power cables from your PSU directly into designated wires located on both sides of card such as 6-to-8 pin PCIe power connectors if available; this will ensure that sufficient power is supplied to running device internals when system is powered up via main wall outlet/power button later on in installation process if necessary. Then finally once all connections are firmly secured in place with no loose connections detected/present when payment connected back onto main board; simply put everything back together again and boot up the machine!
Connecting power cables
Connecting the power cables to your GPU can seem like a daunting task, but it’s relatively easy once you know what to do. You will likely need between two and three 8/6-pin PCIe power supply cables, depending on your model of GPU. Some models may require up to a single 16-pin cable. Make sure that you have the right kind and amount of cables before beginning installation.
Once you have located the appropriate ports on your GPU and in your power supply, make sure that they are lined up properly before pressing them in firmly. It is very important that these connections are secure – an extra hand to hold wires while plugging them in can often be helpful. It is also critical that no metal objects are near any of the plugs as you may cause a short circuit or other damage – don’t forget to check for any foreign objects around connectors before connecting them!
Once all of the cables are securely installed, double check them for any wear or fraying that could cause a short circuit or other malfunctioning at some point in the future. If everything looks good and securely fastened, then you should be ready to turn on your computer!
Booting up and installing drivers
Once the GPU has been successfully installed, it’s time to boot up and install the drivers. Follow whatever steps your manufacturer guides provide, but most GPUs will require you to do the following:
Boot up your computer with the new GPU installed.
Connect a monitor to the GPU
Open your computer’s display settings and make sure you have selected the right output for your new GPU
Go to the website of your new graphics card’s manufacturer and download the newest driver.
Restart your computer after installing.
Once you have restarted, it’s a good idea to check that everything is working correctly by opening a program like Task Manager and checking for any errors related to hardware or display resolution. If everything looks as it should be then congratulations! You now have a brand-new GPU in your system!
Conclusion
In conclusion, installing and optimizing your new 3090 GPU has become an integral part of the gaming experience to ensure superior performance in graphical and gaming applications. There are a few components to consider when properly setting up and optimizing the GPU, such as choosing the appropriate driver version, setting the optimal overclocking frequency or limits, determining compatibility with other hardware components, and obtaining compatible software.
With the comprehensive information provided in this guide, gamers and users should feel confident that they’re able to successfully set up their new 3090 GPU without encountering any issues along the way.
FAQs
What to do with your new 3090?
There are many things you can do with your new RTX 3090, depending on your interests and needs. Some common uses include gaming, video editing, 3D modeling, and machine learning.
What is a good overclock for an RTX 3090?
The ideal overclock for an RTX 3090 will vary depending on your specific card and system configuration. However, a good starting point is to increase the core clock speed by around 100-200 MHz and the memory clock speed by around 500-1000 MHz.
How to optimize RTX 3090?
To optimize your RTX 3090, you can do things like updating your graphics drivers, adjusting your game settings for optimal performance, and monitoring your system temperatures to avoid thermal throttling.
Is RTX 3090 overkill for gaming?
For most gamers, the RTX 3090 is overkill for gaming, as it is designed for professional use cases such as machine learning and 3D rendering. However, if you have a high-end gaming setup and want the absolute best performance, the RTX 3090 may be worth considering.
Is the RTX 3090 outdated?
As of my knowledge cutoff in 2021, the RTX 3090 is not outdated and is still a very powerful graphics card. However, technology advances quickly, and newer models may surpass its performance in the future.
How long will a GTX 3090 last?
The lifespan of an RTX 3090 will depend on various factors such as usage, temperature, and maintenance. Generally, you can expect it to last for several years before it becomes outdated or needs to be replaced.
Is 3090 overkill for 1440p?
Yes, the RTX 3090 is overkill for 1440p gaming. It is better suited for high-resolution gaming at 4K or above, or for professional use cases that require its powerful hardware capabilities.
How much does 3090 earn daily?
The earning potential of an RTX 3090 will depend on the specific use case and market conditions. For example, it may be used for cryptocurrency mining or machine learning tasks, which can earn varying amounts depending on the current market rates.
Is 3090 overkill for 4k?
The RTX 3090 is well-suited for gaming at 4K resolution, as it can provide high frame rates and excellent image quality. However, it may be overkill for some games, and you may be able to achieve similar performance with a less expensive graphics card.
Does a 3090 use a lot of power?
Yes, the RTX 3090 uses a lot of power, with a maximum power draw of up to 350 watts. This means that you will need a high-quality power supply and adequate cooling to ensure stable operation.
See More
- Best gpu for vr 2023
- Best cpu gpu combo 2023
- Best gpu for warzone 2023
- Best cpu gpu combo for 1440p 144hz 2023
- Best gpu cooler 2023