
Installing a Vertical GPU Mount can be intimidating, but you don’t need to worry anymore! This guide will help you safely and securely install a Vertical GPU Mount so that you can minimize clutter in your workstation and maximize your gaming experience.
Get ready to tackle this challenge – let’s dive right in!
Installing a vertical GPU mount is one of the best ways to optimize airflow and maximize space in your gaming setup. For those who are unfamiliar with how to properly install such a device, this guide will provide all of the necessary steps. We’ll cover everything from selecting the right mount to making sure all of your hardware is compatible and correctly mounted.
This guide will also discuss safety precautions that should be taken before beginning any installation process. With these tips, you can ensure that the installation process is stress-free.

Explanation of vertical GPU mounting
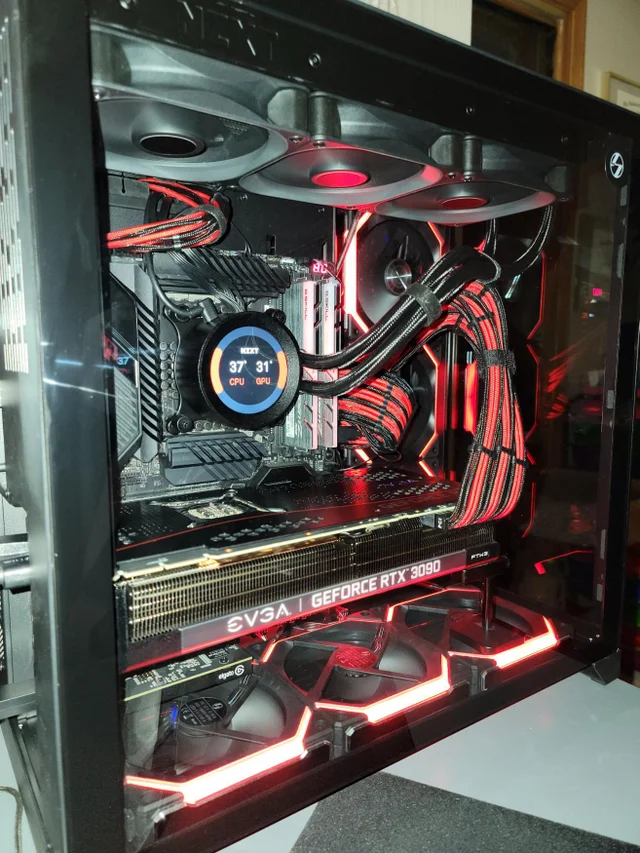
Vertical GPU mounting is a popular and effective way to improve airflow in your computer. A vertical GPU mount simply holds the graphics card upright, or at the very least in an orientation where the majority of its heatsink faces downwards towards the computer case fan. This allows for more efficient cooling and helps ensure that your GPU runs cooler and performs better. Proper installation of a vertical GPU mount is important for optimal results, so it’s worthwhile to spend some time familiarizing yourself with the steps involved.
The first step is to prepare the components needed for installation. This includes a reliable vertical GPU mount, compatible graphics card and mounting screws that are included with the mount, along with any additional components (cables or adapters) you may need to securely connect your card to your motherboard.
Next you need to install your graphics card into its PCI slot at a slight angle, so as not to damage any of its components when seated fully in place. Once inserted at an angle, you can now use the screws supplied by your vertical GPU mount manufacturer to secure it into place on your case panel or wall-mount bracket (if provided).
The last step is attaching any cables or adapters according to an appropriate manual provided by your vertical GPU mount manufacturer. Be sure that everything is well connected so as not to produce adverse effects such as short circuiting or overdrawing power from other components. You now can enjoy optimal performance from your increased airflow!
Importance of proper installation
Installing a Vertical GPU Mount correctly helps eliminate potential card warping from excessive pressure due to improper installation. It also aids in fast heating of the graphics card and therefore, will reduce the temperatures of your PC parts over a period of time. Improper installation can lead to GPU damage or poor performance, which may cause additional downtime as well as decreased compatibility with other components.
Proper installation also maximizes the effectiveness and longevity of the mount, ensuring that it will continue to provide reliable support long after it is put into use. Installing a Vertical GPU Mount correctly should not take more than five minutes and will significantly improve the overall performance of your system.
Check compatibility
Before investing in a vertical GPU mount, check for compatibility with your graphics card. Most graphics cards come with at least one expansion port that is intended for use with a vertical GPU mount – usually either an HDMI port or a specialised VGA port.
It is important to note that if you have multiple expansion ports, the mount must be compatible with all of them. Make sure to read the manufacturer’s instructions and specifications before buy as there are some differences between brands and models when it comes to vertical GPU mounts.
Additionally, some GPUs may not be compatible with certain models so it is important to double check if the model you are looking at will be compatible with your graphics card before purchasing.
Ensure compatibility of the case and GPU
- Ensure compatibility of the case and GPU – Prior to buying a vertical GPU mount, you should ensure that your computer case and the graphics card you have are compatible with the mount. Most vertical GPU mounts are designed to fit an ATX motherboard and will fit most full-tower cases. However, if your case is a mid-tower or smaller, it may not fit the mount. You should also check that your graphics card isn’t too large for the mount since some of them can be pretty big.
Additionally, some cases may require additional hardware such as mounting brackets or riser cables in order to properly secure the vertical GPU mount within your system. Be sure to check this prior to purchasing one.
Verify that the PCIe riser cable is compatible
Before installing a vertical GPU mount, it’s important to verify that the PCIe riser cable is compatible. Make sure the GPU connector matches the motherboard connector. In addition, make sure the version of the riser cable matches your motherboard and graphics card. Most PCIe risers come with 6-pin and 8-pin connectors to accommodate different sizes of cards.
You may also need to check with your motherboard manual for additional power specs. Some boards require additional Molex or SATA connections for extra power supply.
Finally, check for good airflow in your system and make sure all cables are secure before proceeding.
Install the PCIe riser cable
Once the vertical mount has been securely mounted to the chassis, the second step is to install the PCIe riser cable. This is a necessary component in order for a graphics card to be mounted in a vertical position. The PCIe riser cable typically comes with its own mounting hardware, which will have to be connected to the back of the GPU and then inserted into an available PCIe slot on the motherboard. To ensure the connection is secure, apply pressure by screwing it in until it is firmly seated.
After this has been done, connect one end of the PCIe riser cable into that slot and route it up towards where you’re planning on mounting your GPU and attach it to that mount’s corresponding slot using additional screws. This will allow for a proper electrical connection between your GPU and your system.
Identify the correct PCIe slot on the motherboard
Before you begin to install the vertical GPU mount, you will want to identify the correct PCIe slot on your motherboard. Start by counting along the slots from left to right. Different motherboards have varying numbers of PCIe slots; some motherboards will have 1, 4 or 6 available. Make sure you have the correct number of PCIe slots for your optimal gaming performance and for the mount itself which requires 5 empty or unused PCI-E expansion slots:
1) Most vertical GPU mounts require a minimum of 6 empty PCI-E slots for installation. Many popular boards come with 1,4 or 6 available and depending on your graphics card type you may need additional space.
2) A vertical mount requires five open slots from a single PCIe at a time. In these scenarios, it is important to establish which slot is receiving power at all times as this will eliminate any confusion when it comes to installation later on.
3)Once identified create an installation plan with all parts ordered in an orderly manner so everything goes smoothly when it comes to assembly. This way, you can ensure that components connected and fixed securely together in order before connecting everything up and making sure screws are tightly fitted and connected before moving onto the next step in process.
Lastly as part of your installation research double check that mounting holes of chosen vertical GPU mounts is compatible with selected case supports and also double check that graphics card ports are accessible when mounted in horizontally or vertically inside chosen case.
Install the PCIe riser cable to the motherboard
The PCIe riser cable must be correctly installed to the motherboard CPU slot.
First, remove the rear I/O shield from the back of your PC case by pressing down on either side and pulling it away from the rear of the case.
Locate the PCIe x16 slot with a spare connection and insert one end of the riser cable into it, making sure that all pins are fully seated. Securely fasten this end of the cable in place with a screwdriver.
Repeat this process for the other end, connecting it to your graphics card in one of its free PCIe slots. Tighten down both ends firmly with a screwdriver to reduce any chance of movement or damage to either component during operation.
Attach the other end of the PCIe riser cable to the GPU
For the best performance, it is essential to securely attach the other end of the PCIe riser cable to your graphics card. To do this, you should locate the release latch located on the back of your GPU, directly above the PCI-E slot where the riser connects. Gently lift and then pull this latch outward in order to release the PCI-E connection from within your GPU.
Once you have released this connection, you can then take advantage of any dust covers or guards that are usually included with a quality vertical GPU mount kit; these are generally small plastic plugs that prevent dust and dirt from clogging up and compromising any vital connections between your GPU and components in its surrounding area. Even if your kit doesn’t come with such pieces, a suitable substitute can easily be found at most computing stores or online retailers.
Next, carefully slide one end of the PCIe riser cable into place at either side of your now-exposed PCI-E connection; make sure it is securely connected before proceeding to attach its other end to anything else! Depending on your graphics card’s placement in relation to other components located next to it, you may even need to twist or kink certain sections of this cable in order for it to fit properly. Each plug belonging on one end should coincide and fit snuggly with each plug present on its opposite side after all cables have been attached correctly – resulting in an overall satisfying ‘click’ sound (that may come as a relief!) signalling that everything has been installed correctly!
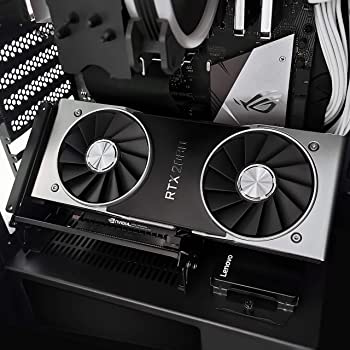
Mount the GPU vertically
Before mounting the GPU vertically, you will want to remove the side panel or other cover to expose the interior of your computer case. Once exposed, it is important to make sure that no cables or other components are blocking where you are planning on attaching the vertical mount. You should also ensure that your motherboard does not have components near where you intend to install the mount (this may require removal of your GPU).
Once you’ve confirmed that there is a clear area for installation, begin by positioning the vertical mount on top of your computer tower in the location that you have chosen for installation. It is essential to make sure that your particular GPU model fits with this specific location. Next, use an appropriate screwdriver and securely attach all four screws into their prospective holes at each corner of the mount.
After these screws have been tightened, slide your desired GPU card into place into its PCI slot and secure it with its appropriate screw(s). Once this has been done, double-check all screws including those of both mount and card before sliding back in or restoring cover(s). After replacement or restoration of covers or panels, your vertical GPU should be securely fastened and ready for usage.
Attach the vertical GPU bracket to the case
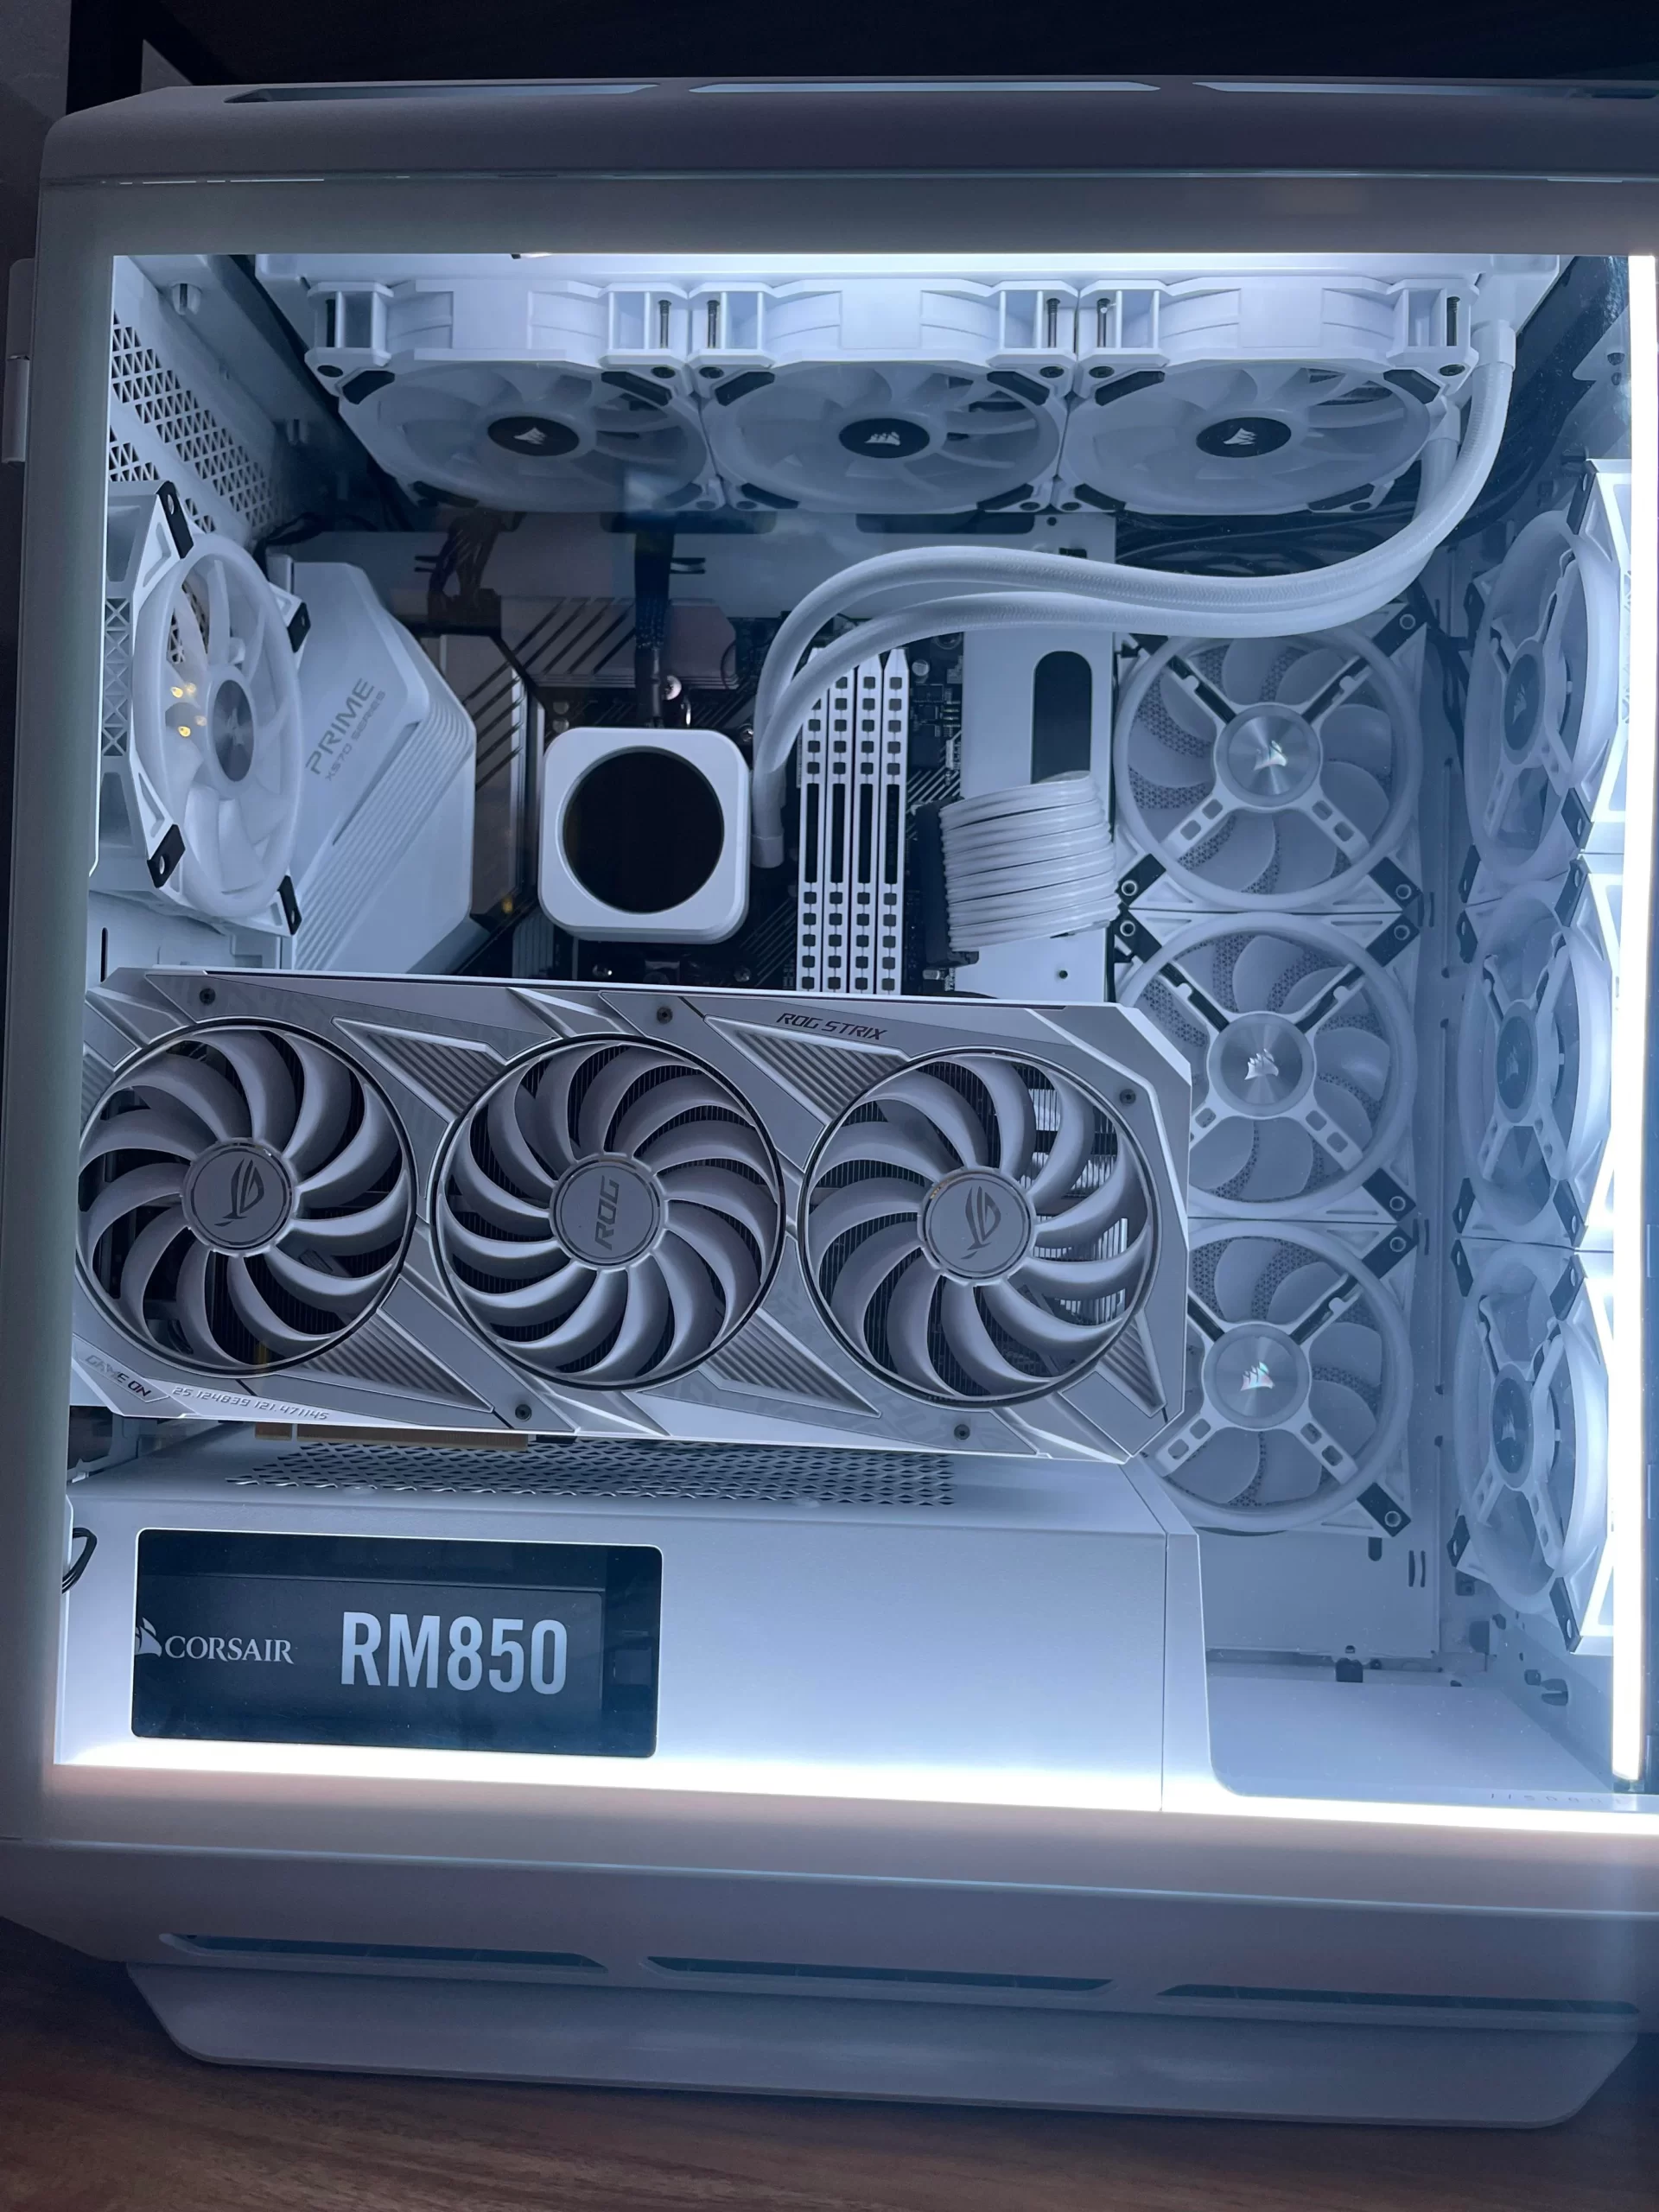
A vertical GPU mount allows you to show off your graphics card in all its glory and give your gaming setup an impressive look. This guide provides all the steps to properly and safely install a vertical GPU mount for the perfect gaming setup.
- Attach the vertical GPU bracket to the case The first step is one of the most important ones: attaching the vertical GPU bracket to your computer case. You need to make sure that it is secured firmly, so use screws provided or find an appropriate sized screw for your particular case. Once you’ve secured your bracket, you can start mounting your graphics card in place using screws provided by the manufacturer. Make sure to thoroughly tighten these screws until snug so that even during heavy gaming sessions, there are no chances of movement or incidents like anti-sag effect when extending multiple monitors via DisplayPort daisy chain (if applicable).
Insert the GPU into the bracket
The vertically mounted GPU must be correctly inserted into the bracket for proper installation. To do this, keep your GPU tilted and slightly angled as you guide it out of the system case. Do NOT force the GPU into the brackets, as this can cause damage to both the motherboard PCIe slot and graphics card.
In order for the vertical GPU mount to work properly, you may need a few included accessories such as screws and washers or even an extra retention bracket depending on your system’s setup. If needed, refer to your vertical mount’s instructions for additional hardware requirements.
Once you have inserted the graphics card into place, use a screwdriver to tighten screws around all four sides in order to secure it in place. Make sure that all of these screws are equally fastened so that there is no strain on any one side of the mounting bracket. For additional support, connect any remaining parts included with your vertical mount such as retention clips or V-rail guides so that your GPU is held firmly in place within the case.
Conclusion
By now, you should have a better understanding of the process required to properly install a vertical GPU mount. You should have all the necessary hardware and accessories to get started. Though the installation process may seem intimidating since there are so many components, with patience, it is possible to complete this project and mount your GPU safely and securely.
The added airflow achieved by mounting your GPU vertically makes it well worth the effort!
FAQs
How to install vertical mount GPU?
To install a vertical mount GPU, you need to have a compatible case and a PCIe riser cable. First, remove the traditional horizontal GPU mounting bracket from the case. Then, attach the PCIe riser cable to the GPU and connect the other end to the PCIe slot on the motherboard. Finally, attach the GPU to the vertical mounting bracket in the case.
Is it OK to vertically mount GPU?
Yes, it is OK to vertically mount a GPU if your case and GPU are compatible with a vertical mount. However, there are some potential disadvantages to consider, such as increased temperatures and possible sagging of the GPU over time.
Do vertical GPU mounts sag?
Vertical GPU mounts can potentially sag over time due to the weight of the GPU. However, some vertical GPU mounts come with support brackets to prevent sagging.
What are the disadvantages to vertical GPU?
Some of the disadvantages of vertically mounting a GPU include increased temperatures, potential for sagging, and limited compatibility with certain cases and motherboards. Additionally, some people may not find the vertical orientation aesthetically pleasing.
Which slot to install GPU in?
You should install your GPU in the PCIe x16 slot on your motherboard, as this is the slot that provides the most bandwidth and is specifically designed for GPUs.
Are GPU fans intake or exhaust?
The orientation of GPU fans can vary, but they are typically designed as intake fans, meaning they pull cool air into the GPU and expel hot air out the back of the card.
How do I vertically align my GPU?
To vertically align your GPU, you need to use a compatible vertical GPU mount that attaches to the PCIe slot on your motherboard and positions the GPU vertically. Some mounts also come with support brackets to keep the GPU from sagging.
Does using a PCIe riser affect performance?
Using a PCIe riser can potentially affect performance, as it adds additional resistance to the connection between the GPU and the motherboard. However, the impact on performance is typically minimal and may not be noticeable in most cases.
Why do GPU fans face down?
GPU fans may face down in cases where the airflow is optimized for a bottom-to-top airflow direction. In this case, the fans pull cool air from below the GPU and expel hot air out the back of the card.
How do I connect my GPU riser to my motherboard?
To connect your GPU riser to your motherboard, you need to plug one end of the riser into the PCIe slot on the motherboard and the other end into the PCIe slot on the
See More
- Best gpu for i7 10700k 2023
- Best gpu for i9 9900k 2023
- Best GPU for Minecraft 2023
- Best gpu for mining 2023
- Best gpu under 200 2023